

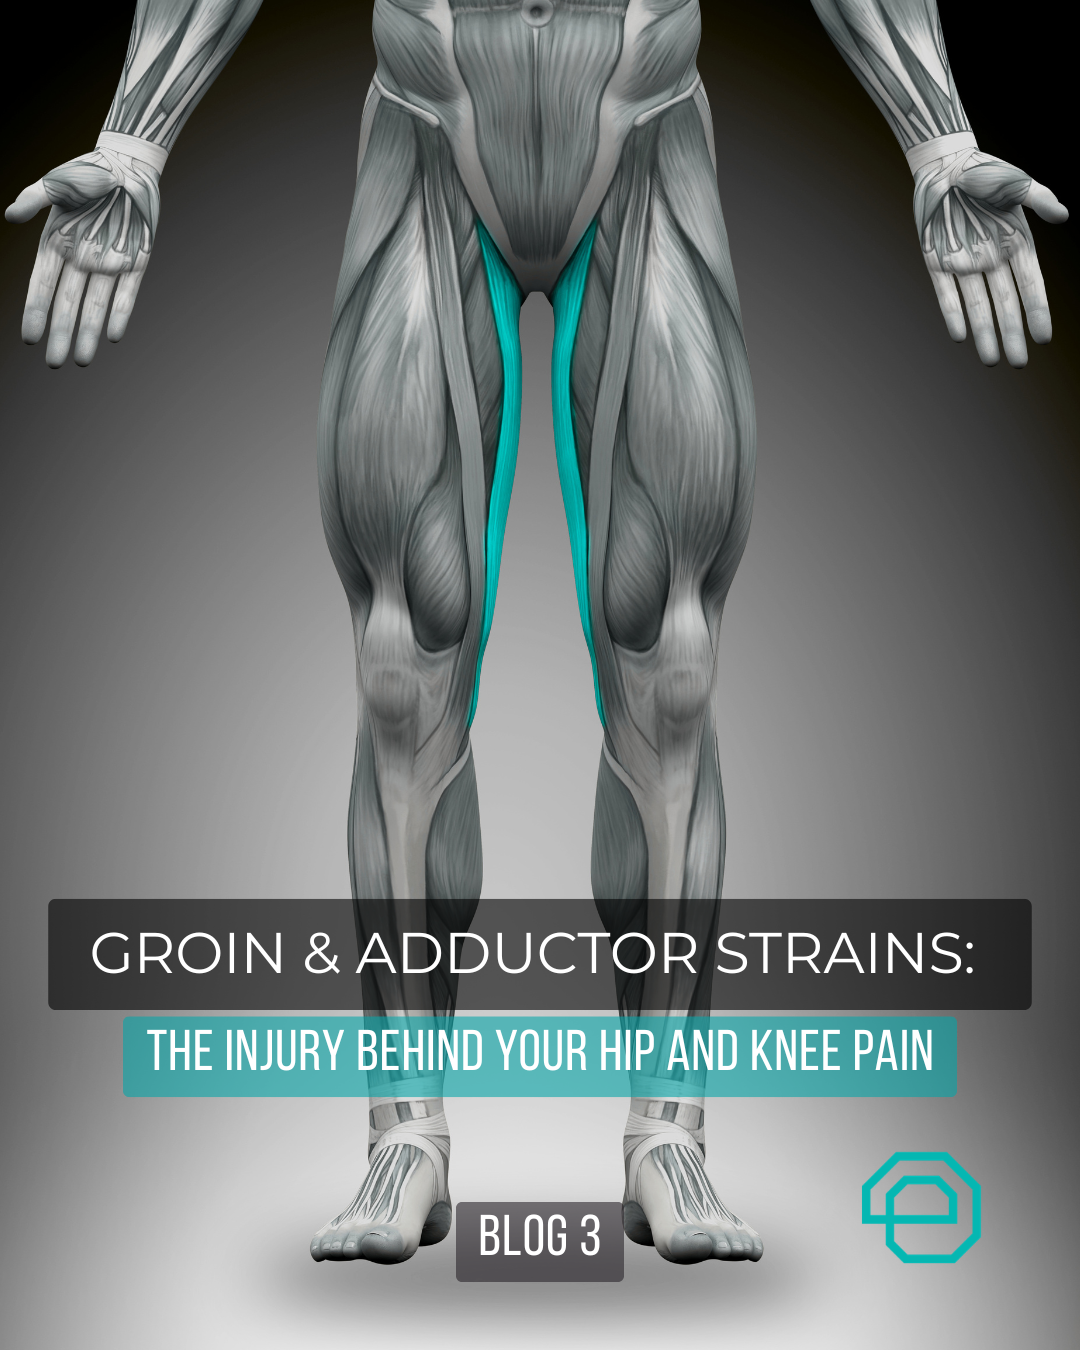
Blog 3: Groin & Adductor Strains: The Injury Behind Your Hip and Knee Pain
Blog 3: Groin & Adductor Strains: The Injury Behind Your Hip and Knee Pain
Part 3: Fixing Your Groin Strain, For Good!

Blog 2: Groin & Adductor Strains: The Injury Behind Your Hip and Knee Pain
Blog 2: Groin & Adductor Strains: The Injury Behind Your Hip and Knee Pain
Part 2: Why Your Groin Strain Keeps Coming Back

Blog 1: Groin & Adductor Strains: The Injury Behind Your Hip and Knee Pain
Blog 1: Groin & Adductor Strains: The Injury Behind Your Hip and Knee Pain
Part 1: The Groin & Adductor Strain — What's Actually Happening

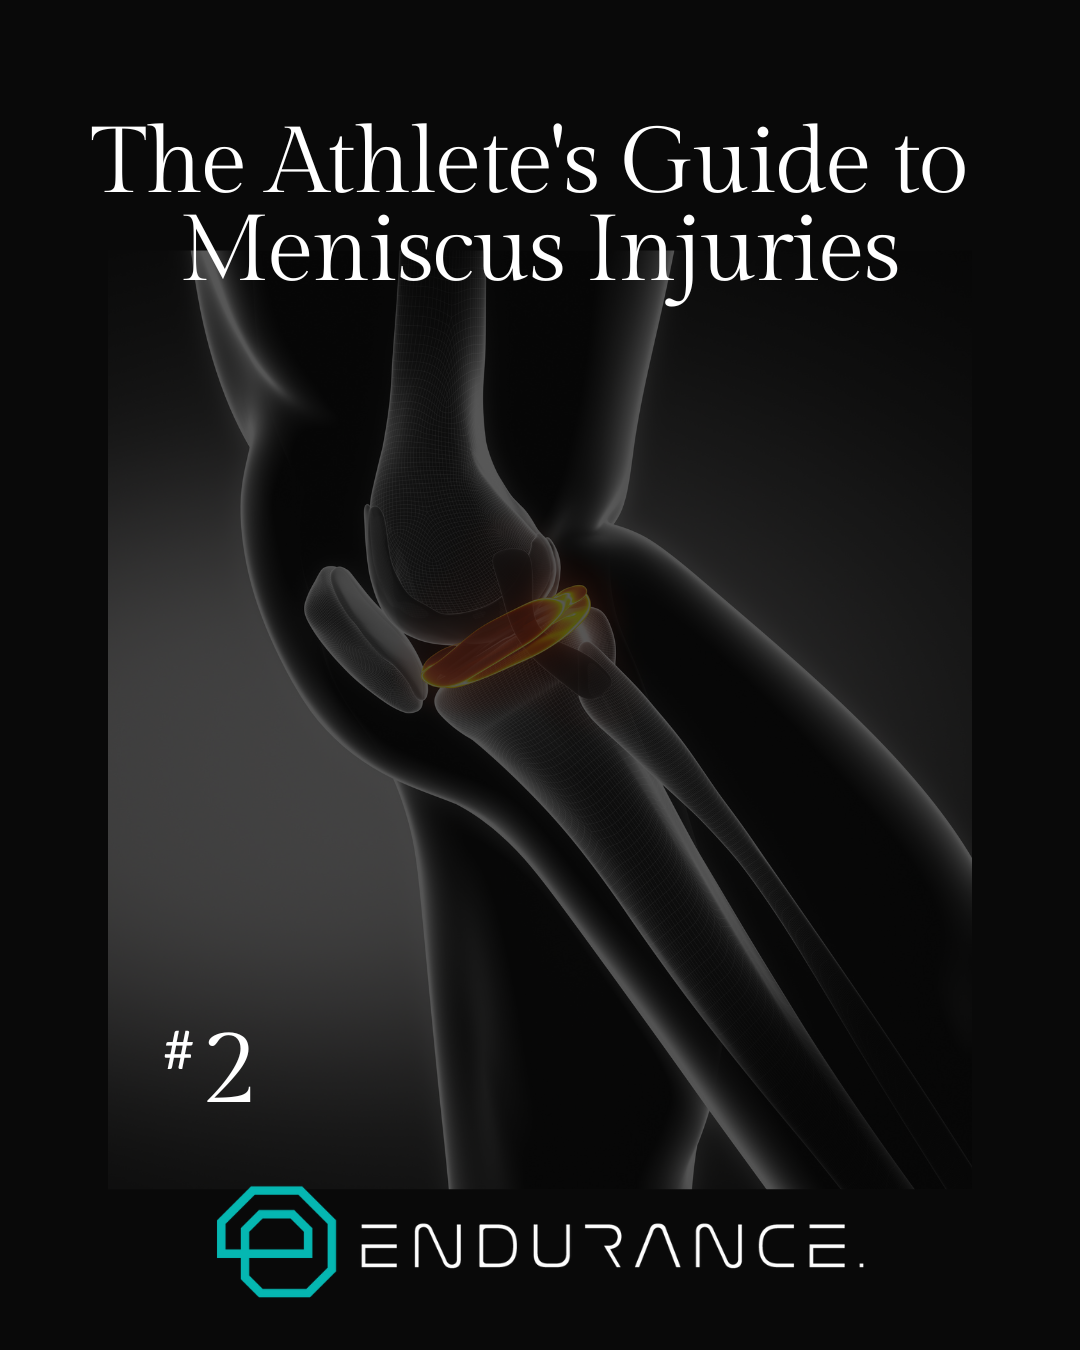
Blog 3: The Athlete's Guide to Meniscus Injuries
Blog 3: The Athlete's Guide to Meniscus Injuries
Part 3: How Dr. Keirstyn Helps - Prevention, Treatment & Education
Blog 2: The Athlete's Guide to Meniscus Injuries
Blog 2: The Athlete's Guide to Meniscus Injuries
Part 2: Common Sports & Causes - Who Gets Meniscus Tears and Why

Blog 1: The Athlete's Guide to Meniscus Injuries
Blog 1: The Athlete's Guide to Meniscus Injuries
Part 1: Anatomy & Physiology - What Your Meniscus Actually Does
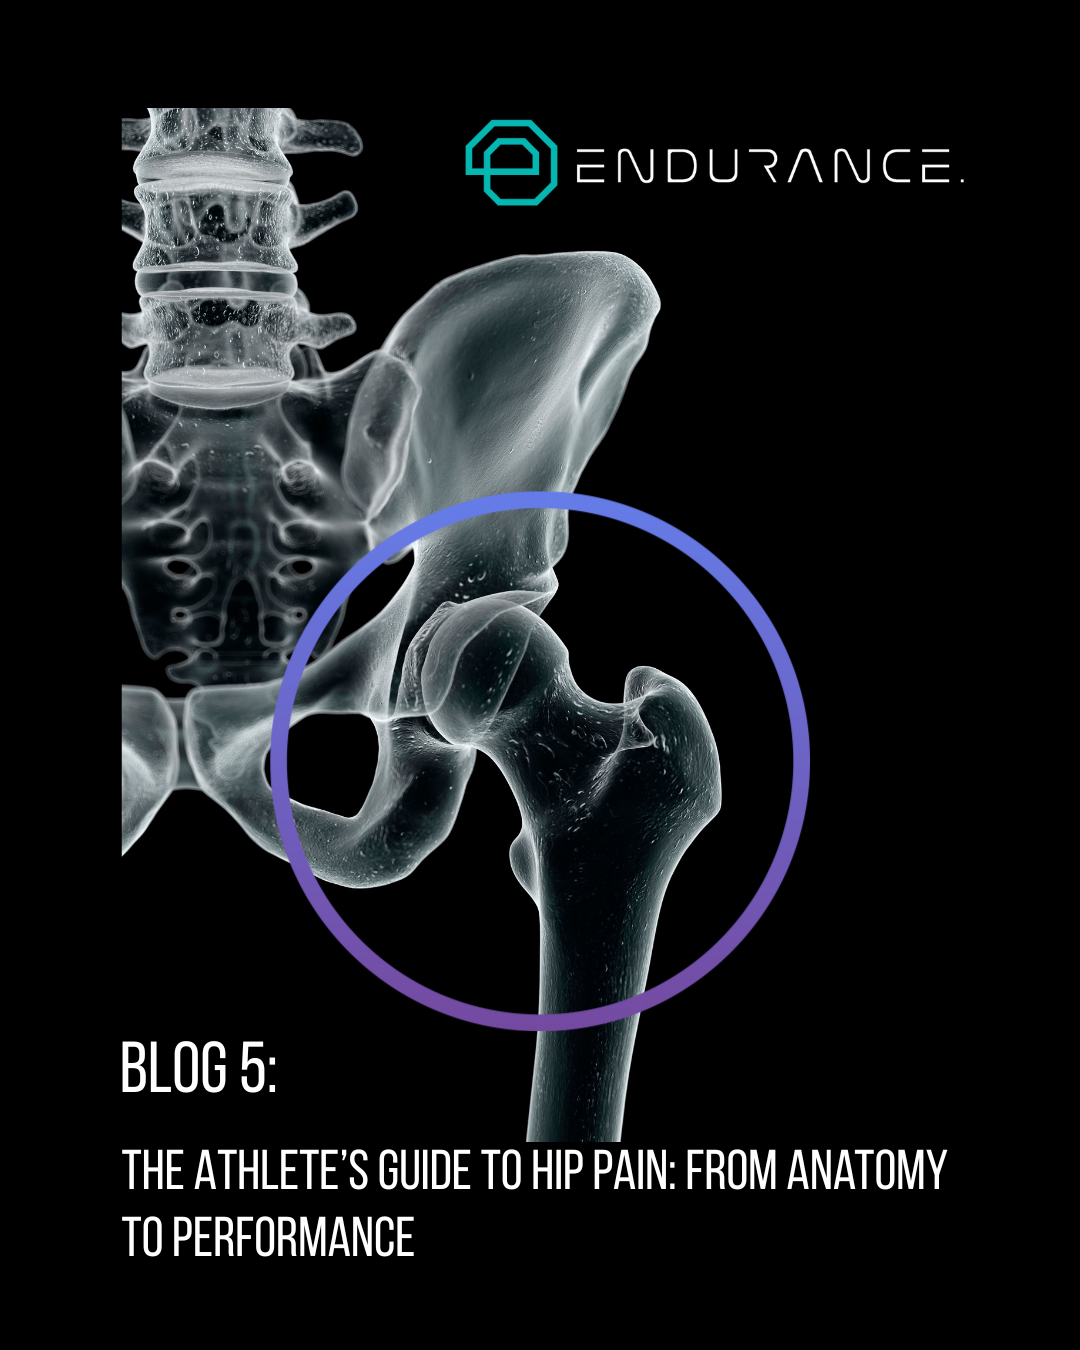
Blog 5: The Athlete’s Guide to Hip Pain: From Anatomy to Performance (The Final)
Blog 5: The Athlete’s Guide to Hip Pain: From Anatomy to Performance
Part 5: Rehabilitation & Long-Term Hip Health

Blog 4: The Athlete’s Guide to Hip Pain: From Anatomy to Performance
Blog 4: The Athlete’s Guide to Hip Pain: From Anatomy to Performance
Part 4: Movement Patterns That Break Hips

Blog 3: The Athlete’s Guide to Hip Pain: From Anatomy to Performance
Blog 3: The Athlete’s Guide to Hip Pain: From Anatomy to Performance
Part 3: Lateral Hip Pain — What's Causing Pain on the Outside of Your Hip

Blog 2: The Athlete’s Guide to Hip Pain: From Anatomy to Performance
Blog 2: The Athlete’s Guide to Hip Pain: From Anatomy to Performance
Part 2: Anterior Hip Pain — What's Really Going On in the Front of Your Hip

Blog 1: The Athlete’s Guide to Hip Pain: From Anatomy to Performance
Blog 1: The Athlete’s Guide to Hip Pain: From Anatomy to Performance
Part 1: Understanding Hip Anatomy & Common Pain Locations
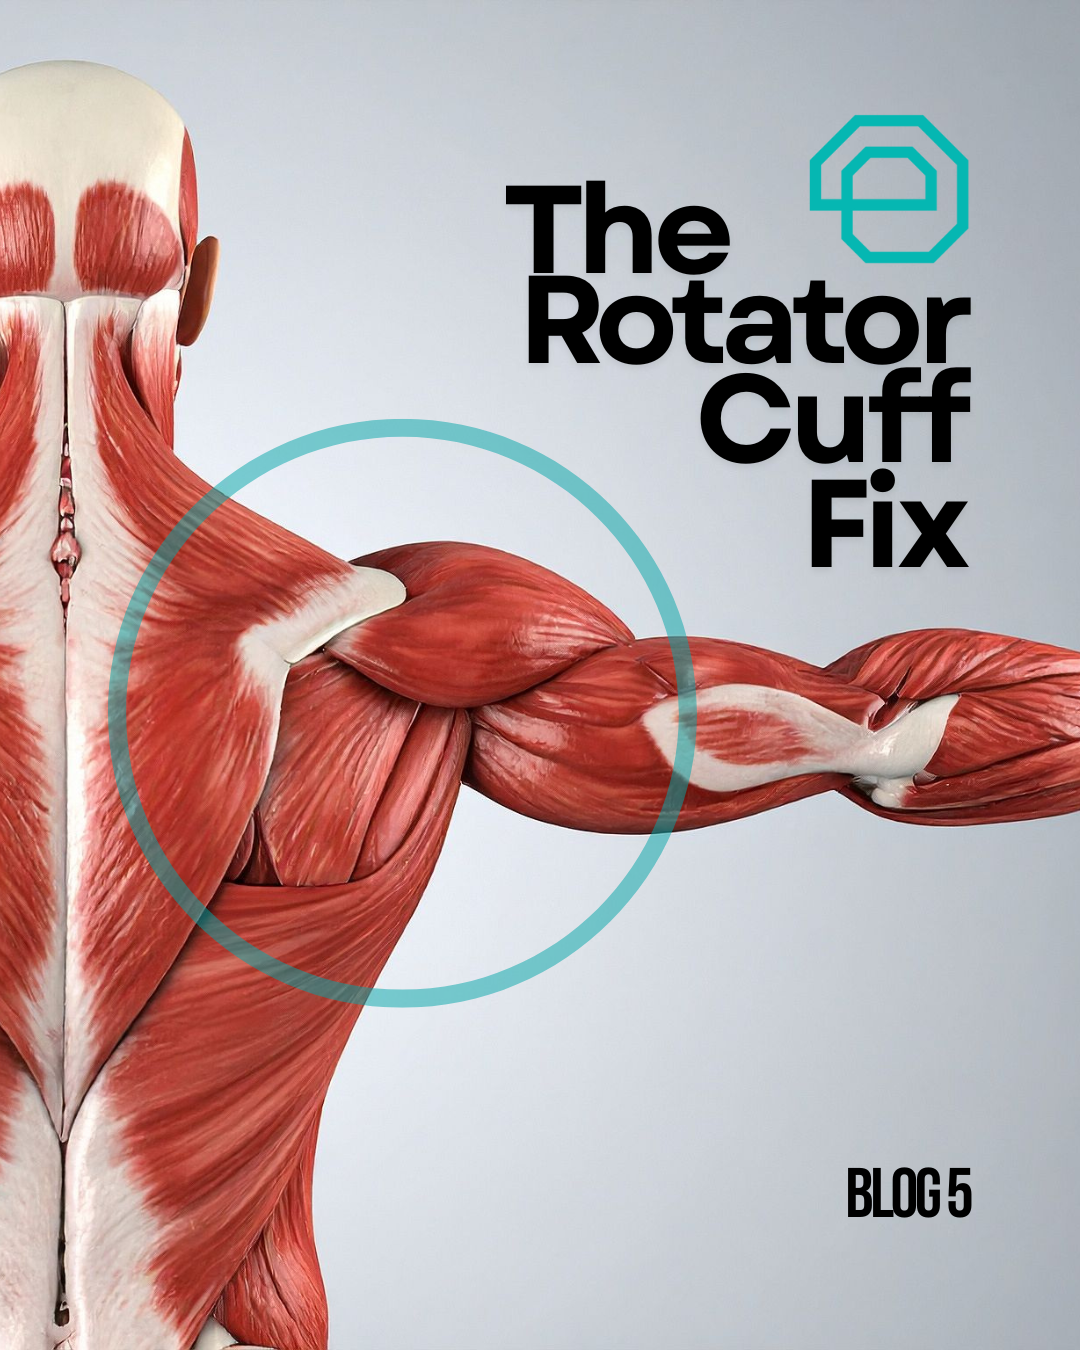
Blog 5: The Rotator Cuff Fix (The Final Blog)
Blog 5: The Rotator Cuff Fix (The Final Blog)
Part 5: Rotator Cuff Longevity - Staying Healthy & Pain-Free for Life

Blog 4: The Rotator Cuff Fix
Blog 4: The Rotator Cuff Fix
Part 4: How Dr. Keirstyn Treats Rotator Cuff Injuries - Soft Tissue Therapy & Comprehensive Care

Blog 3: The Rotator Cuff Fix
Blog 3: The Rotator Cuff Fix
Part 3: How Rotator Cuff Injuries Happen - Common Sports, Risk Factors & Who's Most Susceptible

Blog 2: The Rotator Cuff Fix
Blog 2: The Rotator Cuff Fix
Part 2: Rotator Cuff Injuries - Symptoms, Types & What You're Actually Dealing With

Blog 1: The Rotator Cuff Fix
Blog 1: The Rotator Cuff Fix
Part 1: What is the Rotator Cuff? Understanding Your Shoulder's Anatomy

Blog 5: Happy Hamstrings (The Final Blog)
Blog 5: Happy Hamstrings
Part 5: Returning to Training Without Fear of Flare-Ups

Blog 4: Happy Hamstrings
Blog 4: Happy Hamstrings
Part 4 — Rebuilding Strength: Key Exercises to Prevent Re-Injury

Blog 3: Happy Hamstrings
Blog 3: Happy Hamstrings
Part 3: The Hamstring Fix: The Role of Your Glutes in Hamstring Overload

Blog 2: Happy Hamstrings
Blog 2: Happy Hamstrings
Blog 2 — Mobility vs Stability: Finding the Right Balance for Happy Hamstrings